
A screw head becomes rounded during assembly and the customer says the drill is too powerful—or too weak. Neither conclusion follows from the damaged head alone. Cam-out is the bit climbing out of the drive recess under torque. The bit profile, recess size, fastener quality, alignment, pilot-hole preparation, clutch or mode setting and user pressure all influence the result. A distributor that can diagnose these variables is better equipped to select a kit and respond to returns.
This guide is for product and after-sales teams. It does not tell an operator to force a bit into a damaged screw or override a safety feature. Follow the tool, bit and fastener makers' instructions. DEWALT's screwdriving-bit product information describes bit-tip fit as relevant to reducing cam-out, which is one reason the accessory cannot be treated as a disposable marketing extra.
What is cam-out, and what is it not?
Cam-out occurs when the driver tip slips upward or sideways out of the screw recess while torque is being applied. A short slip may scar the head; repeated slips can destroy it. This is different from a bit that breaks, a chuck that releases a bit, a screw that snaps or a drill motor that stalls. The failure code in a warranty system should distinguish these events.
Some screw-drive geometries are more prone to cam-out than others under particular conditions, but a buyer should not make universal statements from a single catalogue illustration. A well-fitting bit of the correct size can outperform a worn bit of a nominally “better” profile. The installed screw, workpiece and tool settings matter as much as the brand name on the bit.
For a retail kit, the commercial issue is straightforward: customers often use the bits supplied in the box first. If those tips fit poorly, the drill receives the blame. The product sample should therefore be tested with its actual accessory pack and with a separately verified reference bit. That comparison helps identify whether the supplied kit is the weak point.
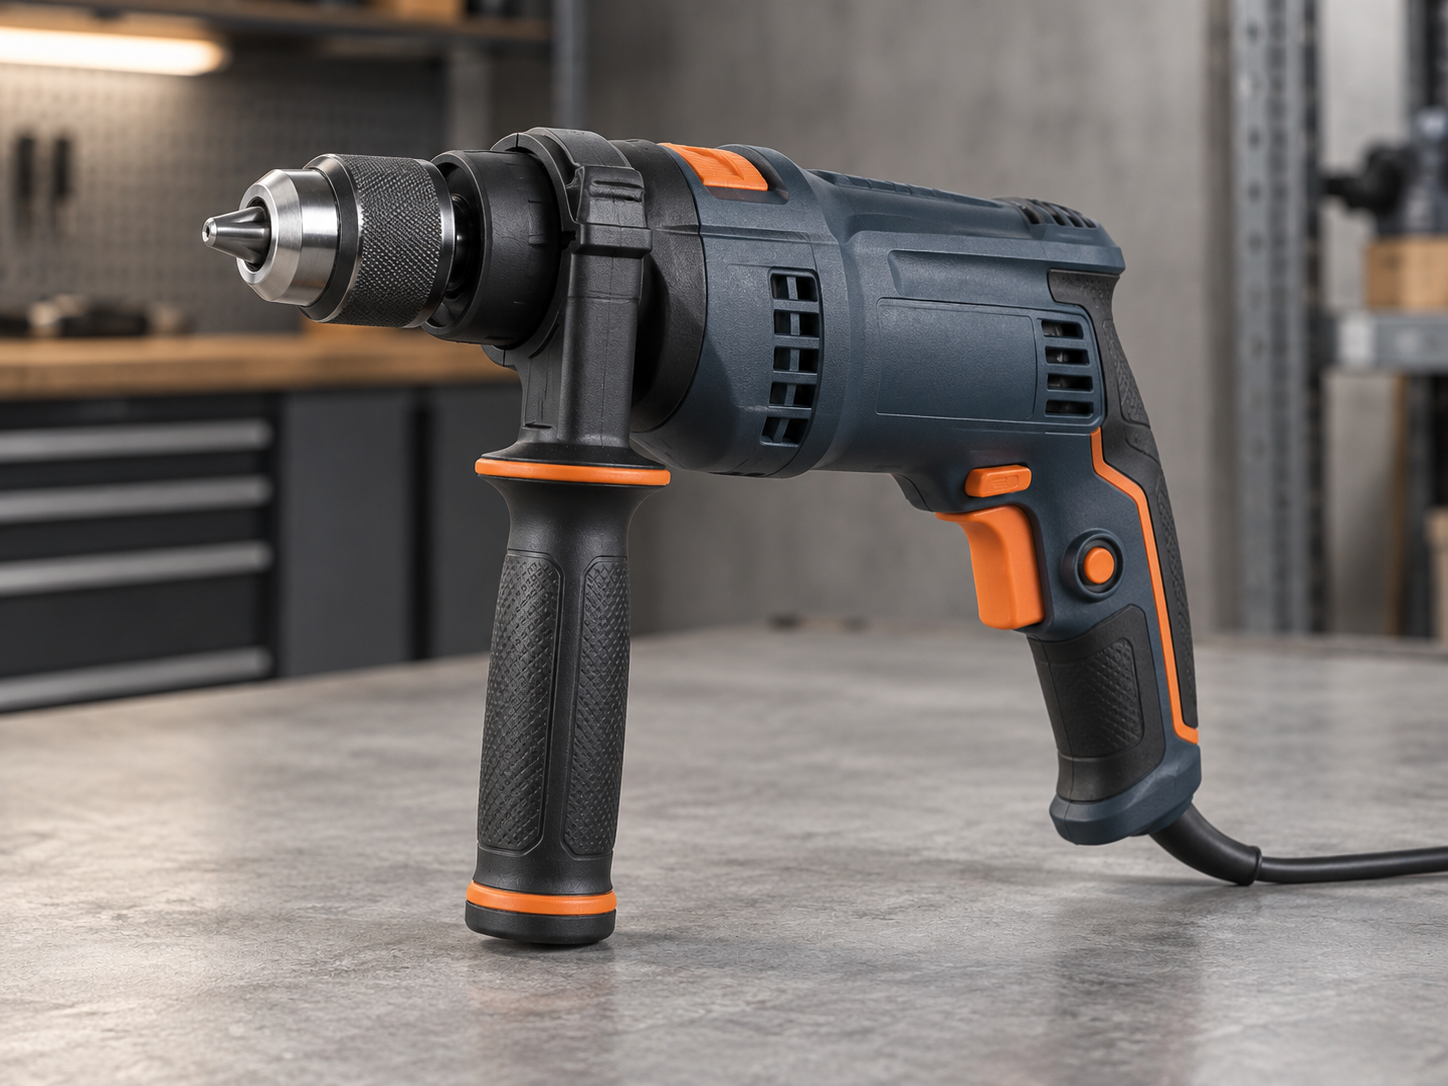
Caption: Bit profile and fastener recess must match before a torque comparison means much.
Check fit before changing the drill setting
Take an undamaged sample screw and a fresh bit from the proposed kit. Confirm the drive type and size. The bit should seat fully without excessive play or bottoming incorrectly. Some profiles look similar at a glance but are not interchangeable. Product packaging should name the drive standard or profile clearly enough that a replacement can be purchased locally.
Inspect bit tips under good light. A rounded, chipped or heavily worn tip can climb out even with careful handling. A magnetic holder may add convenience but can also introduce extra movement if the bit or holder fits poorly. Check the entire path from chuck or hex holder to bit and screw. A loose adapter should not be mistaken for a weak clutch.
Check the fastener batch too. Soft or malformed recesses can produce unusually frequent failures. In a fair sample test, use a defined fastener source for each drill. If the target customer buys screws separately, the listing should still identify compatible drive types and explain that screw quality affects the result. Do not promise that a drill will prevent stripping with every fastener.
Observe the screwdriving sequence
Use a repeatable panel of the intended substrate: timber, sheet material or an assembly board as appropriate. Identify screw size, length, drive recess, pilot hole and whether a countersink is needed. A long screw driven into hard material without appropriate preparation places different demand on the tool than a small screw into a prepared pilot hole. The same clutch setting can behave differently between them.
Start the screw square to the surface, with the tool axis aligned to the fastener. Apply the guidance supplied with the tool and bit rather than leaning heavily or driving at an awkward angle. Record whether the slip occurs on the first turn, under rising resistance or at final seating. That timing is a useful clue. Early slip may suggest poor engagement; late slip may indicate excessive drive setting or an unexpectedly resistant joint.
Test several screws rather than one. Note depth consistency, visible head damage, bit wear and whether the operator had to stop or change a setting. If the drill has a clutch, assess whether it stops consistently for the target material; remember that a clutch is not a calibrated torque instrument. The drill clutch-setting guide provides a separate sample-review method.
Compare root causes systematically
| Observation | Plausible cause to check | Buyer action |
|---|---|---|
| Bit rocks in an unused screw recess | Wrong profile, size or poorly made bit | Verify marked bit and replace with correct reference |
| Slip occurs only at final seating | Clutch or speed setting too aggressive; joint too resistant | Define seating target and repeat with controlled setting |
| Slip occurs on every screw in one batch | Fastener recess condition | Compare with a verified fastener batch |
| Bit holder moves independently | Loose adapter or chuck grip | Inspect holder and tool interface |
| Long screws repeatedly resist | Pilot-hole or substrate mismatch | Review application instructions and accessory offer |
This table is a triage aid, not a diagnosis made from a photo. A competent investigation may find more than one cause. For instance, a slightly worn bit may work on short screws but fail when the customer omits a pilot hole on longer screws. Fixing only one variable may reduce complaints without eliminating them.
When a screw or bit is badly damaged, stop the test and replace it. Reusing the damaged parts in a comparative trial biases later results. Photograph the condition after power is isolated, keep a record of which tool and bit made each test hole, and avoid testing a replacement bit in the same ruined screw recess.
Mid-article sourcing CTA: Seeing screw-head damage in a proposed drill kit? Send the fastener profile, substrate, bit set and sample observations for a configuration review.
Decide whether an impact driver changes the answer
An impact driver can be useful for repetitive higher-resistance fastening, but it is not a universal cam-out cure. It still needs the correct impact-rated bit and suitable fastener. A customer may need the finer clutch control of a drill driver for delicate assembly. The drill driver versus impact driver comparison explains the assortment decision.
For a two-tool range, explain which task belongs to which tool. A product page that calls both tools “electric drills” without differentiating their interfaces invites wrong accessory purchases. If an impact driver is proposed as an alternative, test the same fastener schedule and record head damage, driving control and bit wear, not only completion speed.
Do not market an impact tool as safe for every screw because a demonstration did not cam out. An improperly selected tip or poor work angle can damage hardware with any drive platform. Retail support should give customers a decision route rather than a single slogan.
Turn the diagnosis into a better saleable kit
If bit fit is the main problem, specify the accessory supplier, profile, size and acceptance sample. Ask whether the bit pack can be replenished and how it will be labelled. If pilot-hole preparation is the main issue, include appropriate guidance and consider whether a suitable drill bit belongs in the kit. If users routinely overdrive small screws, make clutch and speed guidance easier to find.
A service team should classify claims separately: damaged fastener, worn accessory, loose chuck/holder, incorrect application information and suspected tool fault. Ask for the purchase SKU, bit identity and a photo of the damaged head where feasible. Respect the customer's safety and privacy; there is no need to request a risky live demonstration of a failing screw.
Review complaints by batch and sales volume. If several markets report the same accessory failure after a kit substitution, apply supplier change control and compare the old and new bit packs. If the issue appears only on one fastener type, investigate compatibility and listing language. A useful correction may be a clearer accessory specification rather than a motor redesign.
Document the sample and shipment checks
The approved kit should include a list of bits and holders with unambiguous markings. A sample record should use the production-intent bit pack and relevant screws. Keep representative damaged and undamaged outcomes, photos and the settings used. At shipment inspection, confirm the correct bit pack and instructions, but do not confuse quantity verification with a full accessory-performance test.
If a supplier changes bit material or heat treatment, request evidence and repeat a relevant driving trial. The tool body has not changed, yet the customer experience may have. Similarly, changing the supplied screw sample in a retail display can alter a demonstration result. Control the whole fastening system.
This approach helps sales teams make bounded, defensible claims. They can explain that the kit is configured for stated drive profiles and typical tasks, while users must match fasteners and work preparation. They should not promise zero cam-out or zero stripped screws; those outcomes depend on variables outside one product.
Run a blinded accessory comparison
When two supplied bit packs look similar but customers prefer one, a small blinded trial can clarify the reason. Label the packs A and B without revealing supplier or price. Use the same fastener batch, panel material, pilot-hole method, drill and trained operators. Record seating depth, visible head damage, slip events and bit-tip condition over a defined sequence. Rotate the order to reduce learning or fatigue effects.
The purpose is not to create a universal laboratory ranking. It is to decide whether a proposed accessory substitution is acceptable for this kit and task. A difference that appears only after several screws may matter to a trade user even if one demonstration screw looked fine. Keep the trial record so a later supplier change can be compared on the same basis.
Build an after-sales script that does not blame the user
Support can begin with “Which bit and screw are you using, and at what stage does the tip slip?” rather than “You used it wrong.” Ask whether the damage occurs with fresh screws, whether the bit seats fully and whether the holder moves. Offer the correct accessory information before concluding the tool has failed. If a customer reports a hazardous reaction or a damaged chuck, route the case to qualified service rather than continuing remote troubleshooting.
The script should not pressure users to keep driving damaged screws. A rounded recess can no longer provide a fair test, and forceful attempts may damage the workpiece or bit. A service team can document the stopped parts and suggest an approved recovery route where appropriate. If the same complaint recurs across a production lot, the supplier should receive a clear evidence package instead of a collection of anecdotes.
A practical buyer handoff
The product manager should give sales and support one page showing the supplied bit profiles, suitable screw examples, when a pilot hole is expected and how to recognize a worn tip. This is not a universal screw chart. It should be based on the tested kit and reviewed when an accessory supplier changes. A clear handoff helps a retailer answer real customer questions without promising that the drill will never damage a fastener.
When the screw specification changes, repeat the same task with the new drive profile before updating the advice.
Frequently asked questions
Does cam-out mean the drill is defective?
Not by itself. Check bit fit, fastener recess, holder, alignment, pilot-hole preparation and settings before assigning a tool fault. If the problem persists with verified accessories and a controlled method, investigate the drill.
Is a harder screwdriver bit always better?
No. Geometry, fit and intended impact or non-impact use matter. A bit that is very hard but poorly matched to the recess may still slip or fail. Test the production-intent accessory in a representative fastening task.
Can a clutch prevent all screw stripping?
No. A clutch helps control driving on suitable tasks, but its setting is not a universal torque guarantee. Bit wear, screw quality and substrate variation still affect seating and head condition.
What should a retailer ask a customer who reports stripped screws?
Ask for the drill and bit model, screw profile and size, substrate, whether a pilot hole was used, and when the slip occurs. A photo of the stopped tool and damaged fastener may help. Avoid requesting an unsafe repeat of the failure.
Conclusion
Cam-out is a system problem: bit, fastener, tool interface and work method all deserve review. A distributor who tests the supplied accessory pack and records the conditions can improve kit quality and troubleshoot fairly. The result is more useful than replacing every complained-about drill without understanding the screw.
Send your requirements
Share your target fastener schedule, drill or driver platform and accessory bundle. ToolViron can discuss a sample test and product-information plan that reflects the real fastening task. Send your requirements to begin.

Caption: Shipped bit packs should match the approved fastening sample, not just the catalogue photo.
Images illustrate product and inspection topics; they are not documentary evidence of a specific ToolViron test or customer project. Confirm the exact model and market requirements before ordering.