
An electric planer is sold with an edge guide, but a customer finds the planed edge is not square to the face of the board. The supplied fence may be loose, out of square or too short for stable reference; the board may be twisted; or the operator may be tilting the tool. A buyer should test the fence as part of the complete saleable kit and distinguish its accuracy from the planer's cutting width or motor performance.
Makita's planer instruction manual shows a model-specific guide-rule arrangement. Other planers use different fences and mounting points, so this article is a procurement checklist rather than a generic adjustment tutorial. Follow the exact product manual and qualified service procedures.
Define the edge-work task
A carpenter may need to ease a door, square a board edge before assembly, make a shallow rebate or create a chamfer. These are not one test. Describe the intended board width and length, wood species, cut depth, edge quality and target angle or straightness. A fence that works for a short narrow board may be awkward on a long panel. A buyer should decide which applications the product will actually claim.
Confirm what the kit includes. Some planers ship with a fence and mounting hardware; others list a guide as optional. The online image, bill of materials, instruction sheet and carton should agree. A listing that pictures a fence without including it will create immediate returns even if the planer itself performs well.
The rabbet and chamfer feature guide covers other geometry-related features. This article focuses on the fence's role as a repeatable edge reference for the approved task.
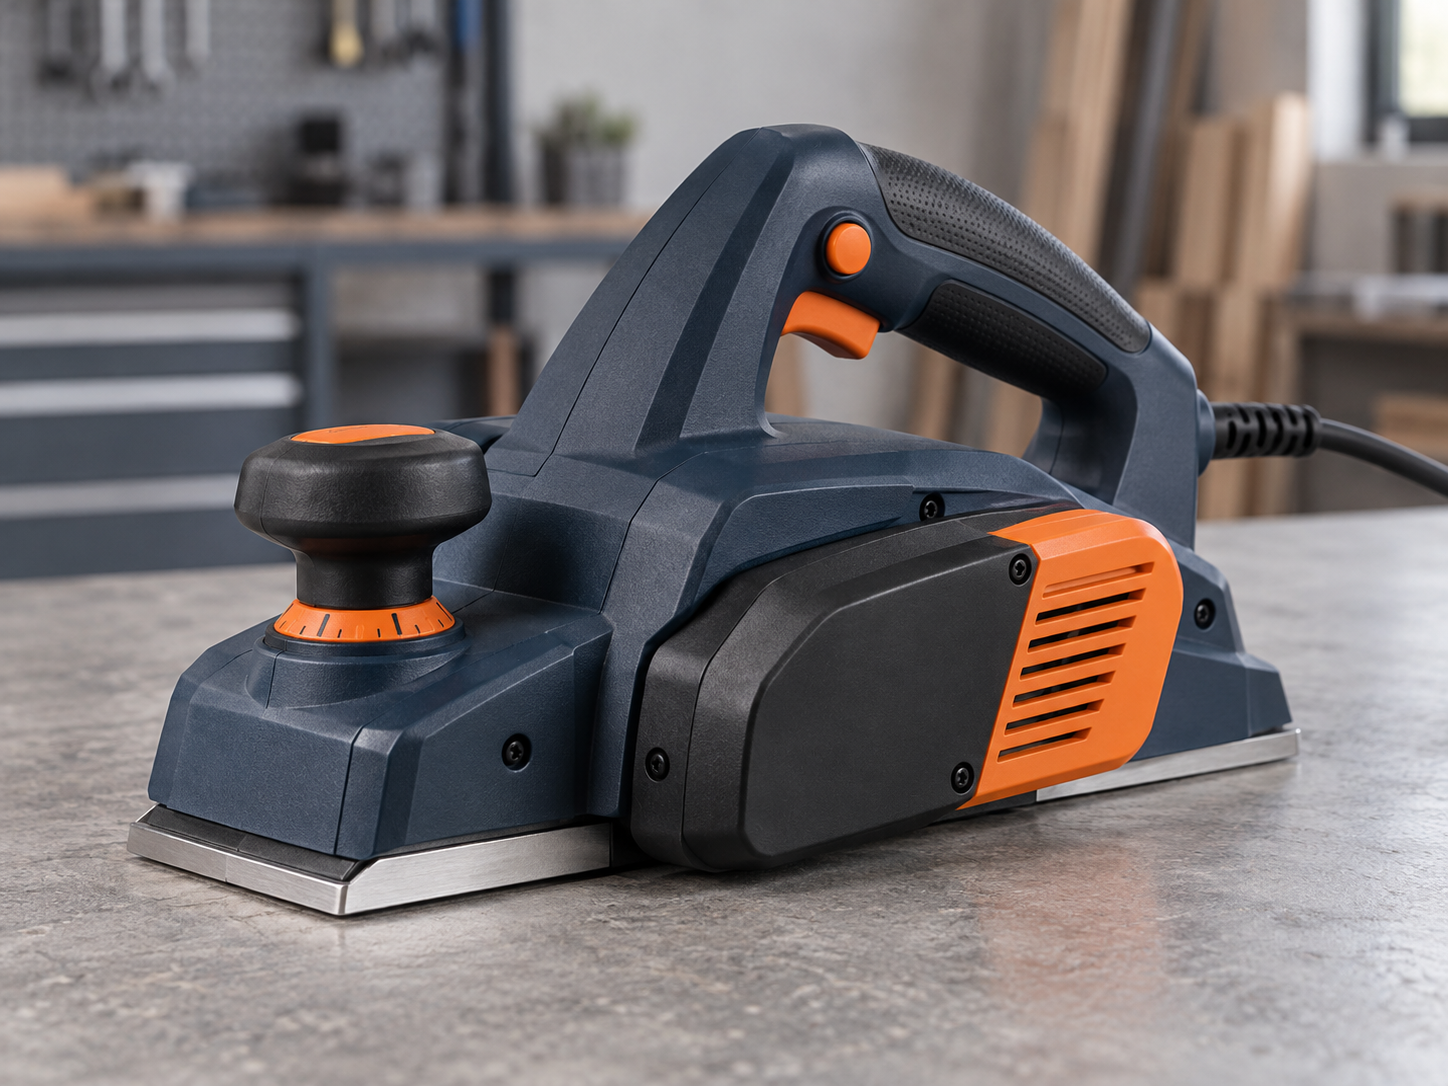
Caption: Fence accuracy is a kit-level property that must be tested with the actual supplied guide.
Inspect the fence before making a cut
With the tool isolated, check the fence body, mounting screws or clamps, contact face and adjustment range. Does the guide seat on its designed reference surfaces? Can it be tightened without distortion? Does it remain fixed when the planer is handled normally? A glossy painted fence can look sound while its bracket flexes under light pressure.
Use a suitable square or gauge on the reference surfaces specified in the product test method. Avoid measuring against a decorative housing face that is not intended as a datum. Check several adjustment positions if the fence can slide; the angle should not change unexpectedly as its projection changes. Record the measuring tool, contact points and acceptance criterion rather than write “looks square.”
Inspect surface finish on the fence. Burrs, coating buildup or protruding fasteners can prevent full contact with the board. If the fence is reversible or can mount on either side, test the permitted configurations. A side that is not mentioned in the manual should not be assumed approved because the hardware appears to fit.
Build a representative edge trial
Choose a straight, stable board and mark its reference face and edge. Verify the board is reasonably square before testing; a twisted or cupped workpiece will undermine interpretation. Secure it safely, set a shallow model-appropriate depth and let a trained operator follow the manual's planing method. Keep the fence against the intended reference throughout the pass without forcing the tool sideways.
Measure the resulting edge at several locations and inspect for taper, step or chatter. Repeat over multiple passes if that reflects the customer's use. Compare results with and without the fence only if the latter is a meaningful task and can be performed safely. Record whether the guide slipped, whether the operator had to change grip and whether chips obstructed the contact face.
A fence that is square on the bench but flexes in use may fail the application test. Conversely, an acceptable edge from one skilled operator does not prove the guide is easy for a typical customer to position. Include a usability review: can a new trained user find the correct assembly parts and set the fence without ambiguous steps?
Separate guide, sole and blade effects
If the result is tapered, inspect whether the fence moved, the workpiece reference face changed or the sole/base geometry is inconsistent. A blade that projects unevenly across the cutter can remove more material on one side even with a square fence. The sole-alignment and blade-setting guide covers that independent check.
If the edge is not square only at the start or finish, review support and feed technique. A short workpiece can lose contact with a long sole before the cut ends. Repeating the test on a longer supported board may reveal whether the result is a geometry issue or an unsupported transition.
Change one variable at a time. Replacing the blade, tightening the fence and switching boards before retesting may produce a better cut but hide the actual cause. A buyer's quality report should preserve the original observation and each intervention, especially when deciding whether production tooling or instructions need to change.
Mid-article sourcing CTA: Need an electric planer with a dependable edge guide? Send the board dimensions, target angle and kit contents for a sample-approval discussion.
Decide what accuracy claim is supportable
The product page may reasonably say that a supplied fence supports guided edge planing when used as instructed. A precise squareness claim requires a defined workpiece, method and tolerance. Do not copy a competitor's number without evidence for the exact tool and guide. A consumer-facing photograph of a try square against a board is not a complete test report.
For a trade channel, provide a technical sheet that identifies fence adjustment range, part number, supplied hardware and intended application. Include the user manual's setup guidance and local-language warnings. If the fence is optional, show the option clearly so a retailer does not quote an incomplete kit.
Consider replacement and loss. A guide or mounting knob may be misplaced during daily work. An after-sales plan should provide part numbers and ordering route. A tool that can only be used as advertised with an unavailable accessory is a weaker commercial offer.
Keep the approved guide in production
At pilot production, sample the actual fence bracket, fasteners and coating. A supplier can change a stamped bracket or screw without changing the planer body, yet alter stiffness or alignment. Treat the guide as a controlled component. The supplier change-control article gives the approval framework for such changes.
At shipment inspection, verify the exact guide and mounting hardware in sampled cartons. Check packing protection so the fence does not arrive bent. A simple dry fit on a finished tool can catch incorrect screws or a mismatched bracket before a full shipment is released.
If complaints arrive, ask for guide part, model revision, board condition and where the angle error occurs. A missing fence is a packing issue; a loose bracket is a component or setup issue; a tapered cut with a secure guide may warrant tool geometry review. Different causes require different remedies.
Write a repeatability test for the fence
A bench measurement of one setup does not show what happens after the fence is moved and retightened. Have a trained reviewer remove and reinstall it several times using the instruction manual, then measure the reference angle at the same agreed positions. Record whether the fence drifts when the locking hardware is tightened. A design that is square only after an expert manually shims it is not a dependable retail kit.
Test adjustment across the usable range if the guide is meant to slide. A bracket can be accurate near the housing and flex when extended. Use a safe, non-powered setup for geometric checks and a limited application test for the extended position. Do not publish one accuracy figure if it applies only to a narrow setting while marketing shows the full adjustment range.
Keep the hardware set together. A different washer or knob can alter clamping force and guide angle. The factory's packing and service records should identify these small parts, not classify them as generic screws.
Compare the fence with the customer's alternative
Some carpenters use a separate straightedge or bench machine for high-precision edge work. The portable planer fence may be best for site fitting and guided rough preparation, not cabinet-shop jointer accuracy. Define where the product sits honestly. If the customer needs a tight square edge over a long board, a handheld planer may require additional setup or a different tool.
In a buyer trial, compare the time needed to set the guide, the number of passes and the resulting edge with the user's typical alternative. The goal is not to claim the portable planer is “better” in every dimension. It is to see whether the supplied fence provides a useful, repeatable result for the target channel at the chosen price and service level.
The trial should include the actual case or storage arrangement. A guide that arrives bent because it was packed loose undermines even a good engineering design.
Resolve an out-of-square complaint systematically
First identify the model, guide part and board reference face. Check whether the guide is installed and locked as the manual shows, using the tool isolated from power. Then measure the guide against the maker-defined datum and inspect mounting parts for damage. If the guide is square in the fixture but cuts remain poor, test on a known stable board and inspect blade or sole geometry.
Avoid immediately replacing the motor or whole tool. A distorted guide, wrong mounting screw or uneven blade needs a different remedy. Conversely, a series of new guides that fail the same geometric check may indicate a stamping or assembly issue requiring supplier corrective action.
Keep the as-received guide and hardware for investigation. A service technician who silently swaps in a good accessory before recording the original condition removes the evidence needed to prevent repeat cases.
Make the specification measurable
The procurement specification should identify the guide part, intended adjustment range, test position, measuring tool, allowable movement after locking and representative cut. Any numeric tolerance must be developed for this design and application. Do not import a woodworking-machinery tolerance for a portable tool without engineering review.
At pilot production, sample both fence geometry and carton contents. At final inspection, confirm the correct part, hardware and packaging protection. The design, test and logistics controls are linked: a guide can leave the supplier square and arrive bent if it is stored under a heavy case component.
A compact approval checklist
The final fence approval can be reduced to five questions: is the exact guide included; does it mount without improvised parts; does it remain square and fixed through the intended adjustment range; can a trained operator produce an acceptable edge on the stated board; and can the same guide be sourced for service? Attach evidence for each answer. A “yes” based only on a catalogue photograph is not enough.
If one answer is no, decide whether to revise the component, narrow the application claim, make the guide optional or select a different planer. The choice should be commercial as well as technical. A hardware retailer may prefer a simpler tool without a weak fence to a nominally feature-rich kit that generates returns.
Verify the fence after repeated handling
A fence may appear square when first tightened but move after depth adjustment, transport or several passes. For a representative sample, document the initial setup, make the planned edge passes on the specified board and recheck the fence position and mounting hardware afterward. The aim is to find whether the guide remains stable in a normal ownership sequence, not to force a perfect reading from one carefully arranged photograph.
Keep the acceptance method proportionate to the advertised use. A light-duty fence for occasional edge guidance need not be described as a precision jointer, but it should not slip under the conditions in which the tool is sold. Record who set it up, which mounting parts were used and whether those parts came from the retail carton. An optional accessory cannot quietly stand in for a weak included guide during the approval test.
If the fence loosens, check the documented assembly and permitted adjustment before judging the design. If the issue persists on more than one production-intent unit, pause the claim or the launch until the supplier and buyer agree on a correction. Retain the board samples and photographs so a later shipment inspection can compare like with like.
Frequently asked questions
Does a fence guarantee a square edge?
No. The guide must fit and stay aligned, the workpiece needs a suitable reference face, and the operator must follow the manual. A controlled cut is needed to judge the complete setup.
Can a buyer test squareness against any face of the tool?
No. Use the maker-defined reference surfaces and a written method. Decorative housing faces are not necessarily accurate datums for the cutting geometry.
What if the fence is square before use but the cut is tapered?
Check whether the guide flexed or moved, whether the board was stable and whether blade or sole geometry is even. Change one variable at a time to isolate the cause.
Should an optional fence be shown in the hero image?
It may be shown if clearly identified as optional. The page and carton must not imply it is included when the customer needs to purchase it separately.
Conclusion
A planer fence is a real product component, not a styling detail. Inspect fit and geometry, test it on a representative board and keep the same guide and hardware in the finished kit. That makes edge-work claims clearer and after-sales diagnosis more useful.
Send your requirements
Share your woodworking application, target board dimensions and expected planer bundle. ToolViron can discuss the fence, blade and sample-check requirements before production. Send your requirements to begin.

Caption: A production guide should match the fence tested on the approved sample.
Images illustrate product and inspection topics; they are not documentary evidence of a specific ToolViron test or customer project. Confirm the exact model and market requirements before ordering.