
Rabbet and chamfer features can make an electric planer more useful to a woodworking or installation customer, but only when the guide, shoe geometry and instructions actually support the intended task. A V-groove in the front shoe or a photographed edge fence is not a complete application claim. Buyers should assess the exact cut that a customer can make with the parts supplied.
This guide compares the two feature families from a B2B product-planning perspective. It focuses on sample approval, realistic demonstrations and honest retail information rather than teaching an operator to cut a particular joint.
Define the two results separately
A chamfer is a bevelled edge. Many planers use a V-groove or shaped front-shoe feature to help guide a chamfer pass, but the actual size and control depend on tool design, setting and operator technique. A rabbet or rebate is a step cut along an edge, commonly supported by a fence and a depth stop on models designed for that work. The two tasks should not be merged into a vague “edge shaping” claim.
Ask which customer segment wants each feature. A door installer may value a small edge chamfer, while a joinery user may need a repeatable rebate width and depth. Some entry-level buyers might be better served by a simple planer with clear depth control rather than features they will not use.
Makita's chamfer guide accessory and KP0810 model information illustrate how a manufacturer identifies specific accessories and tool capabilities. Those references do not imply the same guide fits another brand. Check the actual ToolViron model and packed components.
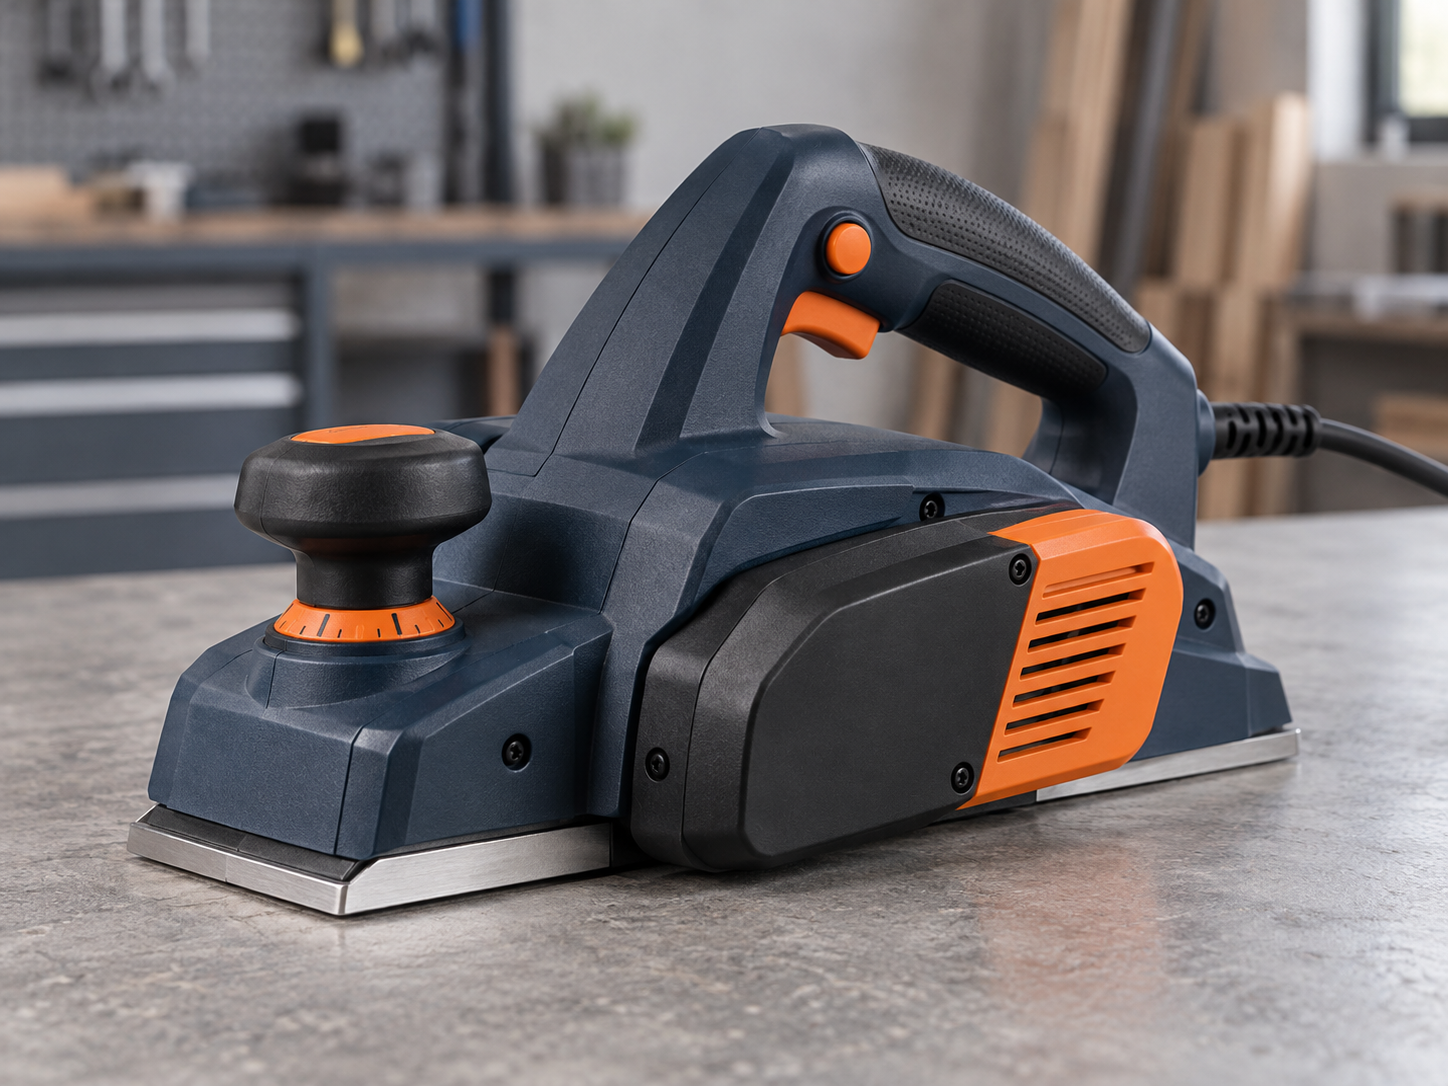
Caption: Compare a real rebate and chamfer made with the approved model and accessories.
Check the chamfer arrangement
Inspect the front-shoe groove or guide: is it centered, straight and easy to place on the intended edge? Is the operator's view of the cut adequate? Does the planer's rear shoe track smoothly after the blade passes? A feature can exist on paper yet be difficult to use on a narrow or irregular workpiece.
Ask the supplier to show several sample passes on timber that resembles the customer's material. Photograph the edge before and after, record the depth setting and note variation along the cut. Avoid promising an exact chamfer dimension without a repeatable test and clearly specified method. A shaped groove is a guide, not a substitute for checking the result.
For a retail listing, show the actual groove and a realistic timber result. Do not use a perfect computer-rendered bevel that hides tear-out or variation. The depth-setting guide explains why dial marks should not be treated as exact removal in all wood.
Check the rebate system
Verify that the planer is designed for the claimed rebate depth and that the fence and depth stop are compatible with the exact model. Review how the guide attaches, how it is adjusted and whether it holds position under ordinary use. A fence from a similar-looking planer should not be bundled without a fit check.
Test a defined rebate on secured timber with the approved blade. Record the target width and depth, number of passes and measured result. Look for a clean shoulder and consistent guide contact. If the feature only supports a shallow rebate, say so. Do not infer a high capacity from the visual size of a depth stop.
The blade-selection guide matters here because the blade and holder affect finish. A change in the cutting system should trigger another application check rather than assuming the earlier sample result still holds.
Mid-article sourcing CTA: Evaluating a feature-rich planer range? Send the target rebate and chamfer applications to request the exact guide and sample-cut configuration.
Watch for accessory interference
A fence, chip bag, hose or cable can interfere with hand position or workpiece access. Test the complete configuration. If the chip outlet can change sides, determine which side is practical with the edge guide installed. The chip-ejection guide covers bag and extraction checks.
For corded models, show a cable route clear of the cut. For cordless versions, test the actual battery pack because its mass can affect balance. A useful shop demonstration should reflect the packed retail kit, not a prototype fitted with optional accessories unavailable to the customer.
Build the quotation and pack-out sheet
List the fence, depth stop, screws, knobs, blade-setting parts and any wrench separately. Mark each as included or optional. If a photograph shows a rebate being cut with a fence, the retail page should not imply the fence is in the carton unless it is. A buyer can choose to offer a basic SKU and an application kit, but each needs its own approved bill of materials.
At factory testing, confirm the guides fit the production planer and a defined sample cut is possible. During shipment inspection, check the exact guide parts and manual insert in sampled cartons. Plastic knobs and small screws are easy to omit; a kit missing one piece may make the feature unusable.
Store part identifiers for replacement guides and fasteners. A customer who loses a fence screw should not have to replace the entire tool. The ToolViron planer range can lead buyers to model-specific accessory enquiries.
Write specific, bounded claims
Say “V-groove for guiding chamfering” only if that feature is present and useful on the approved model. Say “rebate guide included” only if it is physically in the box. Quote a rebate capacity only after checking the exact model and method. If the feature has practical limitations, include them in technical information rather than burying them in the manual.
Avoid suggesting that a planer replaces a router for every joint. Different tools can be more suitable depending on desired accuracy, edge profile, material and volume. A truthful application demonstration is more persuasive to professional buyers than a long list of untested uses.
Decide whether to separate basic and feature-rich SKUs
If a channel sells to occasional home users and professional joiners, one planer configuration may not serve both. A basic SKU can focus on clean general planing with fewer small accessories; a feature-rich kit can include the approved rebate guide, stop and replacement blades. This is a commercial segmentation choice, not a claim that the basic tool is lower quality.
Ask whether the retailer can display and explain the accessory difference. If two cartons look nearly identical, customers may expect the guide shown on a premium product image to be included in the basic kit. Give each SKU a distinct box-contents panel and photograph the accessories laid out. The online listing should mirror the physical pack.
Compare landed cost, inspection time and spare-part support. Small guide components can be cheap individually but expensive to resolve when missing from a shipment. A premium kit may require more careful pack-out and a service stock of knobs, screws and fences. Include those costs when evaluating the margin difference between SKUs.
Use application evidence to refine claims
Keep representative timber samples for the approved chamfer and rebate tasks. Record the blade, depth setting, guide position and number of passes. If a sales team wants to show a larger joint than the sample demonstrates, request another controlled test instead of extending the claim by inference.
The finish should be examined at the shoulder and the exit end of the cut, not only in the centre of the sample. If the result needs sanding or another operation to meet the intended customer expectation, say so. Avoid a marketing photo that suggests a precision joinery finish from a single unqualified pass.
When a guide design changes, retest the feature and update the manual. The same planer motor can behave differently with a more flexible fence or another blade. A feature claim remains trustworthy only while the physical accessory and supporting evidence remain aligned.
Create a guide-compatibility register
Because small accessories can change between revisions, maintain a register for the planer model, fence, depth stop, fasteners and blade. Include photographs of how the guide mounts and the part identifiers printed on the accessory pack. If the supplier changes the housing or shoe, verify whether the existing guide remains compatible before shipping the new tool with old accessory stock.
The register should also identify which features are possible without an optional accessory. A V-groove in the shoe may be part of the base tool, while a rebate guide may be separately packed. Retailers can then answer the customer's first question—“is everything I need in the box?”—without guessing from a lifestyle image.
Ask the supplier to provide a physical sample of replacement guides and knobs with the first order. Try them on the approved tool, then store the samples with the service file. This can catch a drawing error or incompatible screw before a customer requests a replacement.
Decide how much precision to claim
Planers can create useful edge features, but the accuracy of a rebate or chamfer depends on workpiece support, blade condition, guide stiffness, setting and operator technique. A buyer should not publish a precision tolerance based on one attractive demonstration. If a professional joinery channel needs a measurable tolerance, define a controlled test and collect sufficient data.
For general retail, it may be better to describe the supported operation and show an honest sample result. Explain the accessory configuration and any limitations. A planer can be a practical part of an edge-preparation workflow without replacing dedicated joinery machinery in every application.
Review the manual's diagrams for the actual guides. An illustration that shows a fence on the wrong side or omits the depth stop can lead to customer frustration. Translate the instruction with technical care and check the production carton includes every small part needed for the demonstrated feature.
Example: comparing a feature claim with the actual carton
A buyer receives a quote that says “rebate and chamfer capable.” The sample has a V-groove, a fence and a depth stop. The first step is to determine which of those parts are built into the planer and which are packed accessories. Ask for the retail bill of materials and open a production-representative carton. If the fence or stop is optional, the feature claim needs a clear qualification.
Next, prepare two sample pieces. Make a defined chamfer using the approved tool and record whether the groove helps guide a consistent edge. Make a rebate using the supplied fence and stop, then measure width, depth and shoulder quality. If the rebate requires a special guide absent from the carton, the quoted kit is incomplete for that application. Do not approve artwork until the discrepancy is resolved.
Suppose the buyer later changes from a workshop channel to a home-improvement retailer. It may choose to remove the guide to reduce cost, but then the listing must also change. The product should not continue to show a rebate result achieved with an accessory customers cannot obtain. This is a content-control issue as much as a sourcing issue.
Ask what the customer will need after the first cut
Guides and stops can bend, become lost or have small fasteners misplaced. Ask for individual replacement identifiers and whether the same guide fits future planer revisions. If a premium kit depends on the accessory, the retailer needs a way to support it beyond the first sale.
Review blade wear and finish expectations. A customer who buys a planer for visible chamfer work may need replacement blades sooner than someone using it for rough stock removal. The blade system and guide system should be presented together in a product training sheet, with the exact model and revision noted.
Finally, include the chosen features in shipment inspection. Count the small parts, compare guide fit to the retained sample and verify the manual illustrates the same setup. A strong feature claim should survive the transition from prototype to packed production unit.
A final sample record for edge features
Keep one approved chamfer sample and one approved rebate sample with photographs and measurements. Label the planer, blade, guide, stop and settings used for each. If a future accessory supplier claims an equivalent guide, repeat the same tasks before accepting it. A visual match between two fences does not prove they hold the same position under a cut.
Check that the manual's illustrations use the same accessory revision that ships. If a buyer offers both a basic and a feature kit, product managers should review their pages side by side for accidental crossover. A customer should be able to tell exactly which edge work the box supports and which parts must be purchased separately.
These records make the feature claim durable: from supplier sample to production line, shipment inspection, retailer listing and after-sales replacement, everyone refers to the same configuration.
Frequently asked questions
Does a V-groove guarantee a perfectly even chamfer?
No. It can guide the tool, but the outcome depends on setup, timber, blade condition and handling. Test the actual model in representative material.
Is a rebate fence included with every electric planer?
No. Check the exact SKU and box-contents list. A catalogue photo may show an optional accessory.
Can a buyer compare rebate capability from depth setting alone?
No. The guide, stop, shoe and cutting geometry all matter. Approve a sample cut with the complete configuration.
Should a missing guide screw be treated as a minor defect?
No. If it prevents the advertised feature from working, it is a material pack-out issue. Include small guide parts in shipment checks.
Conclusion
Rabbet and chamfer features add value when the buyer can demonstrate them with the exact planer and included accessories. Define the intended job, inspect the guides, record sample cuts and align every retail claim with the carton. That turns a feature icon into a supportable product promise.
End-of-article CTA: Ask ToolViron for a planer feature and accessory quotation. Include the desired rebate or chamfer task, material and kit contents you want reviewed.

Caption: A documented sample cut links the feature claim to the actual packed guide.
Images illustrate product and inspection topics; they are not documentary evidence of a specific ToolViron test or customer project. Confirm the exact model and market requirements before ordering.